Contents
Many underestimate the intricacies involved in advanced hydro jetting, from choosing the right equipment to understanding pipe dynamics. It’s not just about blasting water; it’s a precise method that requires careful planning and execution. By honing in on specific techniques and strategies, you can maximize efficiency and minimize risks. Discover how these five expert tips can elevate your hydro jetting skills and ensure long-term success.
Key Takeaways
- Choose the right jetting equipment based on the specific blockage severity and pipe conditions to optimize effectiveness.
- Regularly inspect and maintain your jetting equipment to ensure safety and operational efficiency before each use.
- Utilize specialized nozzles tailored for different applications, such as grease cutting or root removal, to enhance cleaning results.
- Conduct thorough pre-jetting assessments, including using plumbing cameras, to accurately identify and address the root cause of clogs.
- Implement a routine maintenance schedule, including monthly enzyme-based cleaners, to prevent future obstructions and maintain pipe integrity.
Understanding the Hydro Jetting Process
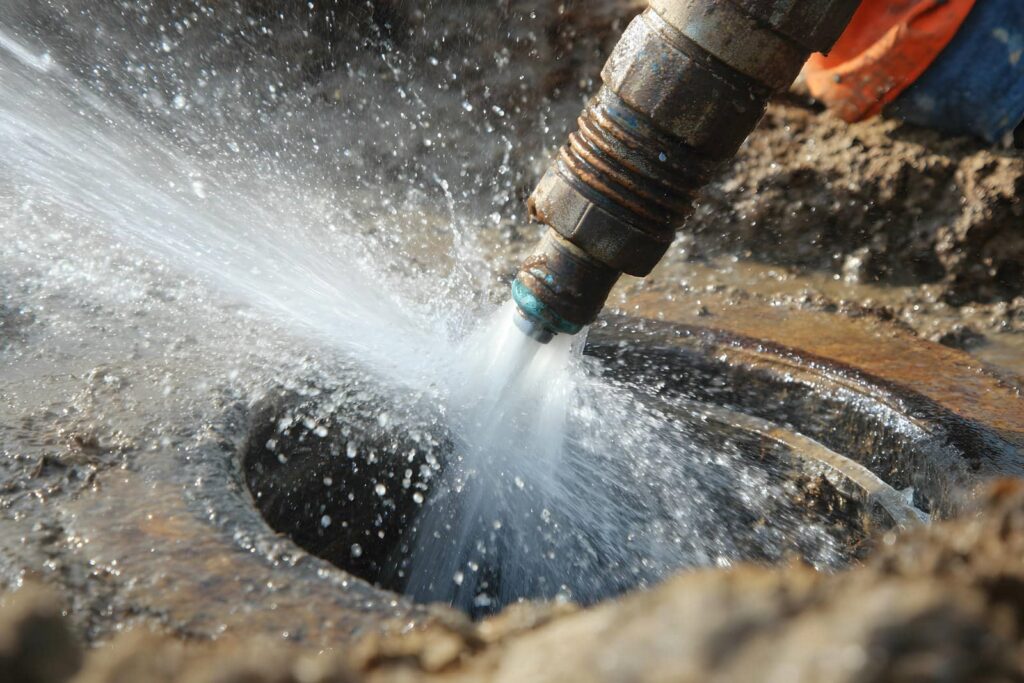
Hydro jetting is an effective plumbing technique that uses high-pressure water jets to clear clogs and obstructions in pipes. By employing various hydro jetting techniques, you can tackle everything from grease buildup to tree root intrusions.
The process involves inserting a specialized hose equipped with a nozzle into the affected pipe. As you adjust the pressure variations, you can maximize the jetting power tailored to the severity of the blockage.
Higher pressures are often necessary for tougher clogs, while lower settings can effectively clean pipes without causing damage. You should also be aware that hydro jetting not only clears blockages but also helps maintain the integrity of your plumbing system by removing buildup that can lead to future issues.
Understanding these nuances will empower you to make informed decisions about your plumbing maintenance and facilitate the longevity of your pipes.
Selecting the Right Equipment for the Job
Choosing the right equipment is vital for effective hydro jetting. You’ll want to take into account various equipment types, including portable jetters, trailer-mounted units, and combination trucks. Each option has unique capabilities suited for different tasks.
When selecting your equipment, pay close attention to the pressure settings. Higher pressure is essential for clearing tough blockages, but it’s equally important to match the pressure to the pipe material and condition. For example, residential lines typically require less pressure than commercial systems.
You might also want to invest in nozzles designed for specific applications, like penetrating grease or cutting through roots. The right nozzle can greatly enhance your results.
Safety Precautions During Hydro Jetting
Before you begin hydro jetting, it’s vital to prioritize safety to protect yourself and those around you. Start by wearing personal protective equipment (PPE) such as goggles, gloves, and sturdy boots. This gear shields you from high-pressure water and any debris that may be ejected during the process.
Make certain to inspect your equipment for any signs of wear or damage before use. Proper equipment safety is essential; verify hoses are securely connected and check for leaks.
Always maintain a safe distance from the nozzle while operating the jetter, and never point the nozzle at yourself or others. Additionally, be aware of your surroundings, as hydro jetting can create noise and spray that may affect nearby individuals.
Identifying Problem Areas Before Hydro Jetting
How can you effectively identify problem areas in your plumbing system prior to hydro jetting? Start by examining your clogged drains.
Look for signs like slow drainage, recurring backups, or unusual odors. These indicators often point to deeper blockages that need attention.
Conduct a pressure assessment, which involves checking water flow and pressure levels throughout your system. Low pressure could suggest significant obstructions, while erratic flow might indicate varying levels of blockage.
Using a plumbing camera can provide visual confirmation of issues lurking within your pipes, allowing you to pinpoint exact locations of concern.
Don’t forget to inspect accessible cleanouts for signs of buildup.
Post-Hydro Jetting Maintenance Tips
Once you’ve completed hydro jetting, maintaining your plumbing system is essential to confirm long-lasting results.
Start with a thorough post-jetting inspection to assess the condition of your pipes and identify any potential issues. Look for signs of wear, corrosion, or any remnants that might need further attention.
Incorporate regular maintenance into your routine. Schedule periodic checks every six months to keep your system in prime condition. This includes monitoring for clogs, leaks, and unusual noises.
Additionally, consider using enzyme-based cleaners monthly to break down organic matter and prevent buildup. Avoid harsh chemicals that could damage your pipes.
Staying proactive will extend the life of your plumbing system and enhance its efficiency.
Frequently Asked Questions
How Often Should I Schedule Hydro Jetting Services?
You should schedule hydro jetting services every 1 to 2 years, depending on your plumbing system’s condition. Following frequency recommendations helps maintain an effective maintenance schedule, ensuring your pipes remain clear and functional.
Can Hydro Jetting Damage Old Pipes?
Hydro jetting can strain old pipes, much like a river carving through ancient rocks. If you’re concerned about pipe integrity and pressure, evaluating your pipes beforehand can help prevent potential damage and ensure longevity.
Is Hydro Jetting Effective for Tree Root Removal?
Yes, hydro jetting effectively removes root infiltration, clearing pipes and enhancing pipe maintenance. It uses high-pressure water to break down roots, helping prevent future blockages and ensuring your plumbing system runs smoothly and efficiently.
What Are the Costs Associated With Hydro Jetting?
Hydro jetting costs vary based on several factors, including the severity of clogs and your location. Pricing estimates typically range from $300 to $500, but it’s wise to get multiple quotes for accurate budgeting.
Can I Perform Hydro Jetting Myself?
You can attempt DIY hydro jetting, but it requires specialized equipment and knowledge. Make certain you follow safety precautions, like wearing protective gear, to avoid injuries. If unsure, consider hiring professionals for the best results.
Final Thoughts
Mastering hydro jetting can greatly enhance your plumbing maintenance strategy. By choosing the right equipment, prioritizing safety, and conducting thorough inspections, you’ll resolve current issues and prevent future ones. Implementing regular maintenance checks and using specialized cleaners will keep your pipes flowing smoothly, ensuring long-term efficiency and cost savings.